如何搭建 Spring Cloud 统一配置服务?
Spring Cloud 配置服务可以用于统一管理微服务的配置。相比于在各个微服务分别编写独立的配置文件,统一的配置服务可以大大提升维护配置文件的效率。
本文将依次搭建一个 Registry Service、Config Service、App Service 来演示 Config Service 的作用。其中 Registry Service 是一个 Eureka Server,即服务注册中心;Config Service 是本文的主角,即使用了 Spring Cloud Config Server 的统一配置中心;App Service 是统一配置的使用者,即普通的微服务。
三个服务统一放置在了 spring-cloud-config-demo 文件夹下:
spring-cloud-config-demo
├─ registry-service
├─ config-service
└─ app-service
三个服务所使用的 JDK、Maven 与 Spring Boot Starter Parent 的版本如下:
JDK:BellSoft Liberica JDK 17
Maven:3.9.2
Spring Boot Starter Parent:3.3.3
接下来即开始三个服务的搭建。
1 搭建 Registry Service(Eureka Server)
Registry Service 是一个 Eureka Server,即服务注册中心。想使用 Spring Cloud 的服务发现功能,需要将每个微服务都注册到该注册中心,这样各个微服务即可根据名称来获取目标微服务的调用地址。
registry-service 的目录接口如下:
registry-service
├─ src/main
│   ├─ java
│   │    └─ com.example.demo
│   │       └─ RegistryApplication.java
│   └─ resources
│       └─ application.yml
└─ pom.xml
可以看到其是一个使用 Maven 管理的标准的 Spring Boot 微服务。
registry-service 的依赖如下:
<!-- registry-service/pom.xml -->
<dependencies>
    <dependency>
        <groupId>org.springframework.boot</groupId>
        <artifactId>spring-boot-starter-web</artifactId>
    </dependency>
    <dependency>
        <groupId>org.springframework.cloud</groupId>
        <artifactId>spring-cloud-starter-netflix-eureka-server</artifactId>
        <version>4.1.3</version>
    </dependency>
</dependencies>
最主要的是该服务引用了 Eureka Server 相关的依赖。
registry-service 的配置如下:
# registry-service/src/main/resources/application.yml
server:
  port: 8761

eureka:
  client:
    registerWithEureka: false
    fetchRegistry: false
可以看到,其使用 8761 端口对外提供服务。
registry-service 的启动类的代码如下:
// registry-service/src/main/java/com/example/demo/RegistryApplication.java
package com.example.demo;

import org.springframework.boot.SpringApplication;
import org.springframework.boot.autoconfigure.SpringBootApplication;
import org.springframework.cloud.netflix.eureka.server.EnableEurekaServer;

@EnableEurekaServer
@SpringBootApplication
public class RegistryApplication {

    public static void main(String[] args) {
        SpringApplication.run(RegistryApplication.class, args);
    }
}
可以看到该启动类使用了 @EnableEurekaServer,表示其是一个 Eureka Server。
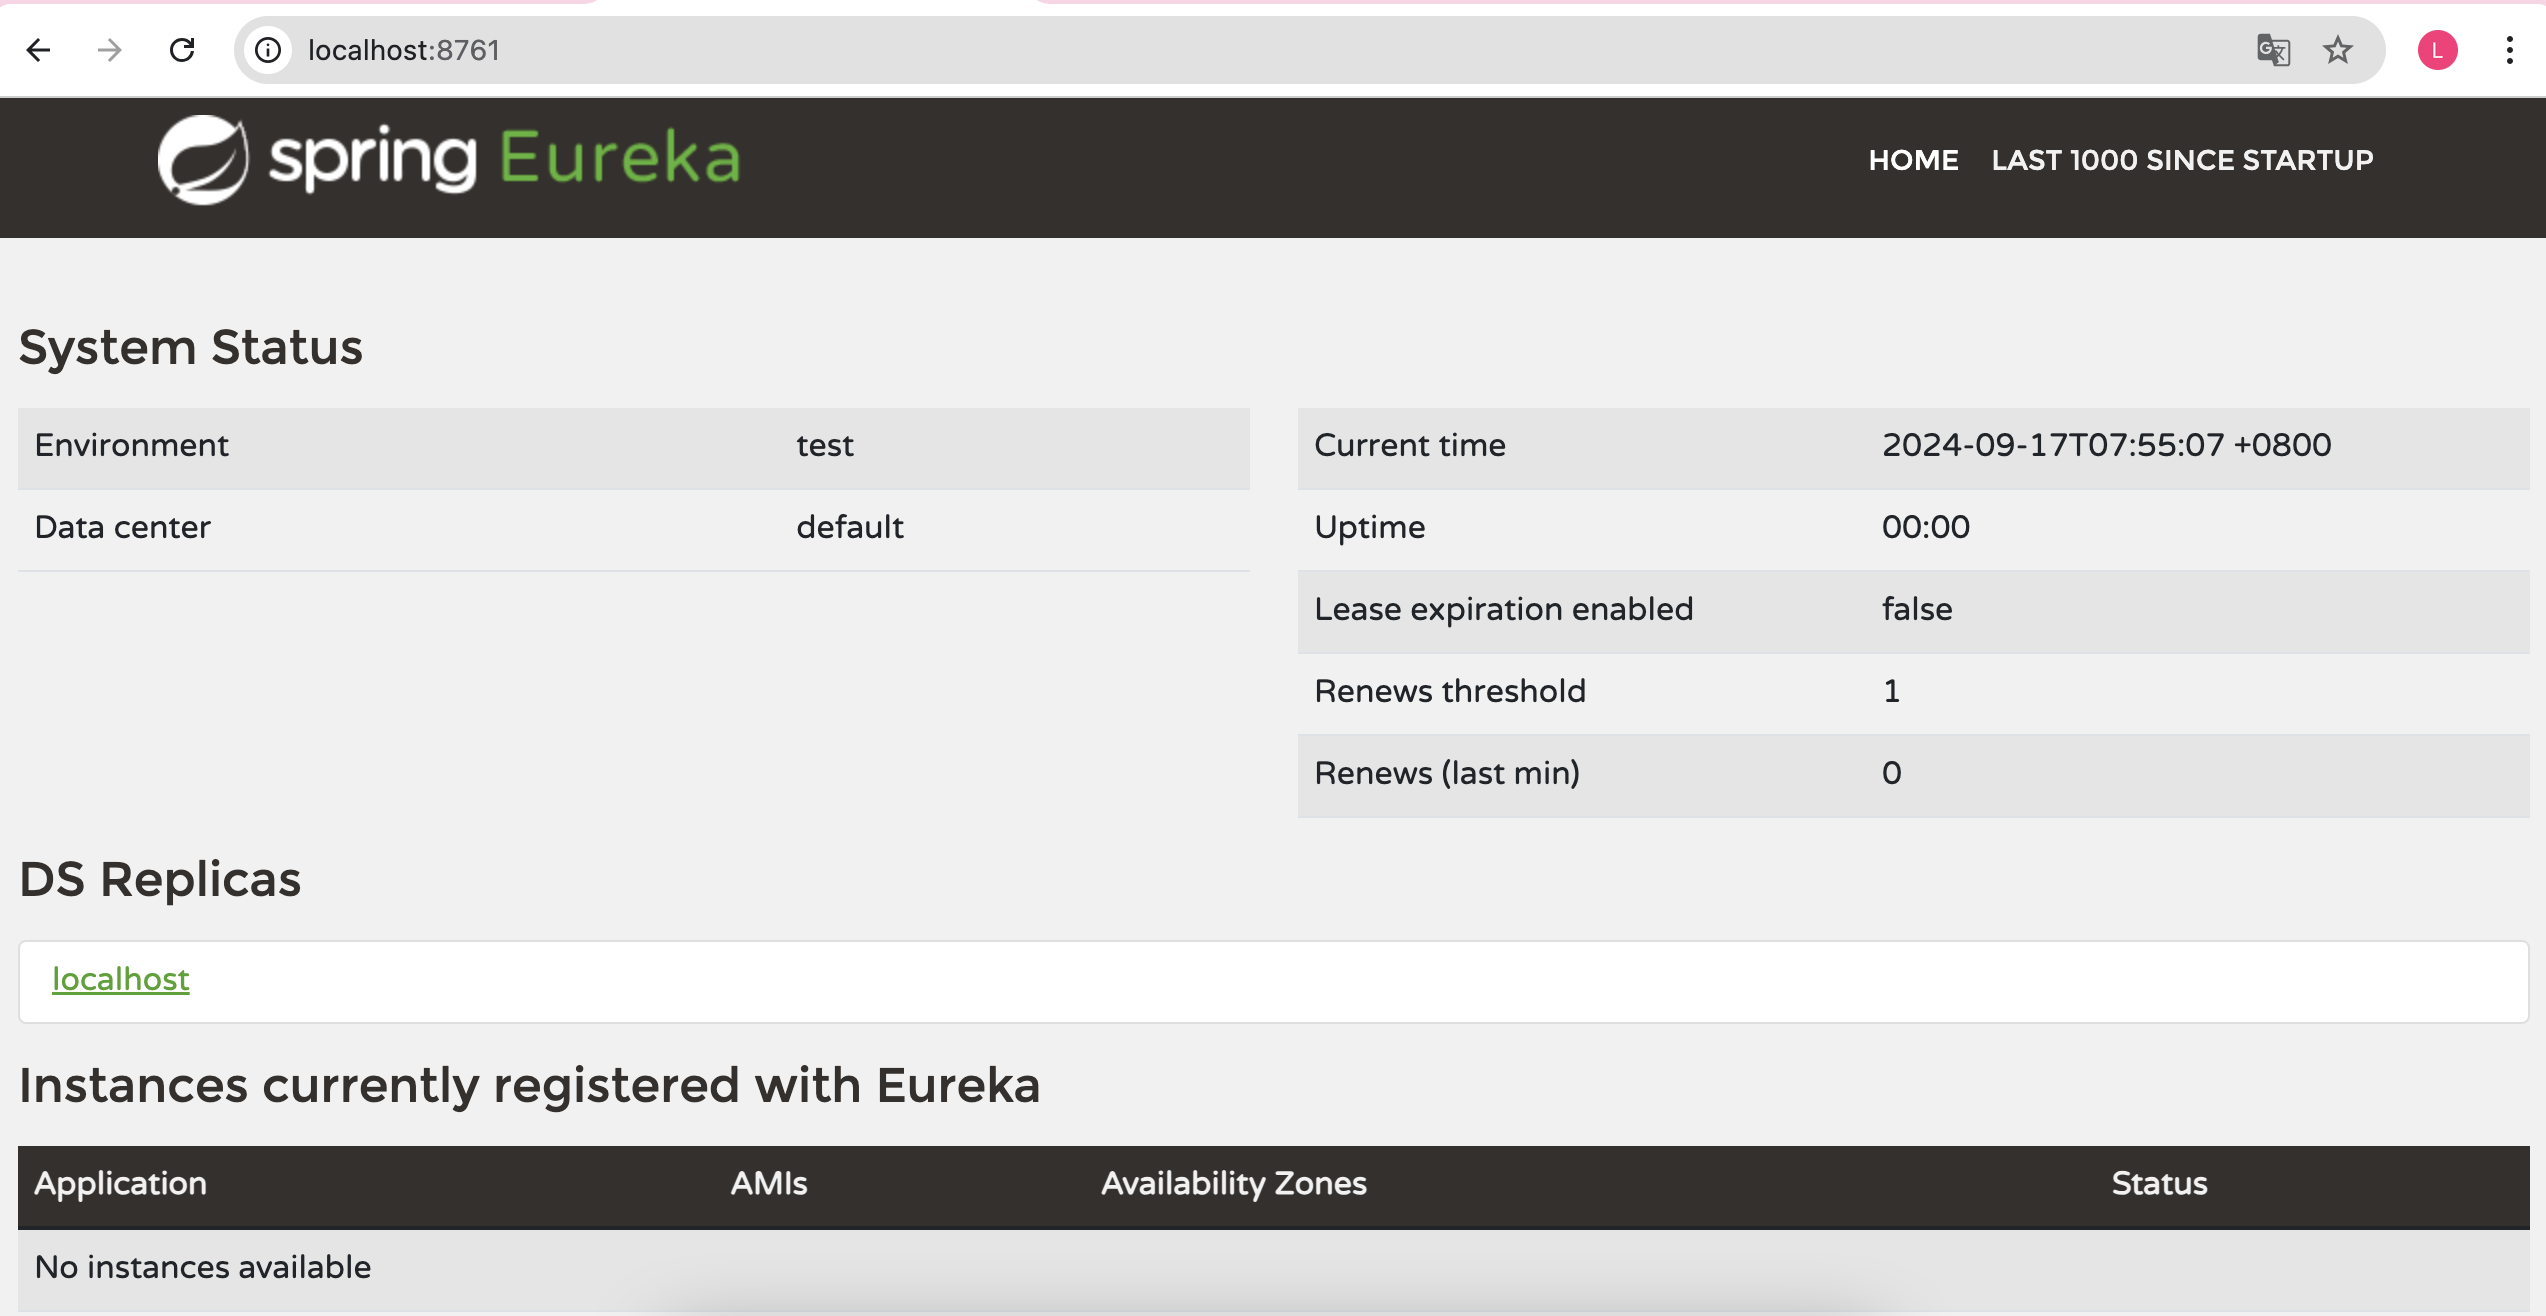
该服务启动后,打开 http://localhost:8761 发现注册上来的服务实例个数为 0。接下来我们会搭建和启动 Config Service 和 App Service,届时再次刷新该页面就会看到有服务实例注册上来了。

2 搭建 Config Service(配置中心)
接下来搭建本文的主角 Config Service,其是一个使用了 Spring Cloud Config Server 的统一配置中心。
config-service 的目录结构如下:
config-service
├─ src/main
│   ├─ java
│   │    └─ com.example.demo
│   │       └─ ConfigApplication.java
│   └─ resources
│       └─ application.yml
└─ pom.xml
其结构也异常简单,只有三个文件:一个 pom.xml 文件、一个 application.yml 配置文件,还有一个启动类 ConfigApplication.java。
config-service 用到的依赖如下:
<!-- config-service/pom.xml -->
<dependencies>
    <dependency>
        <groupId>org.springframework.boot</groupId>
        <artifactId>spring-boot-starter-web</artifactId>
    </dependency>
    <dependency>
        <groupId>org.springframework.boot</groupId>
        <artifactId>spring-boot-starter-actuator</artifactId>
    </dependency>
    <dependency>
        <groupId>org.springframework.cloud</groupId>
        <artifactId>spring-cloud-config-server</artifactId>
        <version>4.1.3</version>
    </dependency>
    <dependency>
        <groupId>org.springframework.cloud</groupId>
        <artifactId>spring-cloud-starter-netflix-eureka-client</artifactId>
        <version>4.1.3</version>
    </dependency>
</dependencies>
可以看到,其主要依赖了 Spring Cloud Config Server,此外还依赖了 Eureka Client。
config-service 的配置如下:
# config-service/src/main/resources/application.yml
server:
  port: 8888
spring:
  application:
    name: config-service
  cloud:
    config:
      server:
        git:
          uri: https://github.com/leileiluoluo/java-exercises.git
          default-label: main
          searchPaths: spring-cloud-config-demo/config-service/config
eureka:
  client:
    server-url:
      defaultZone: http://localhost:8761/eureka/
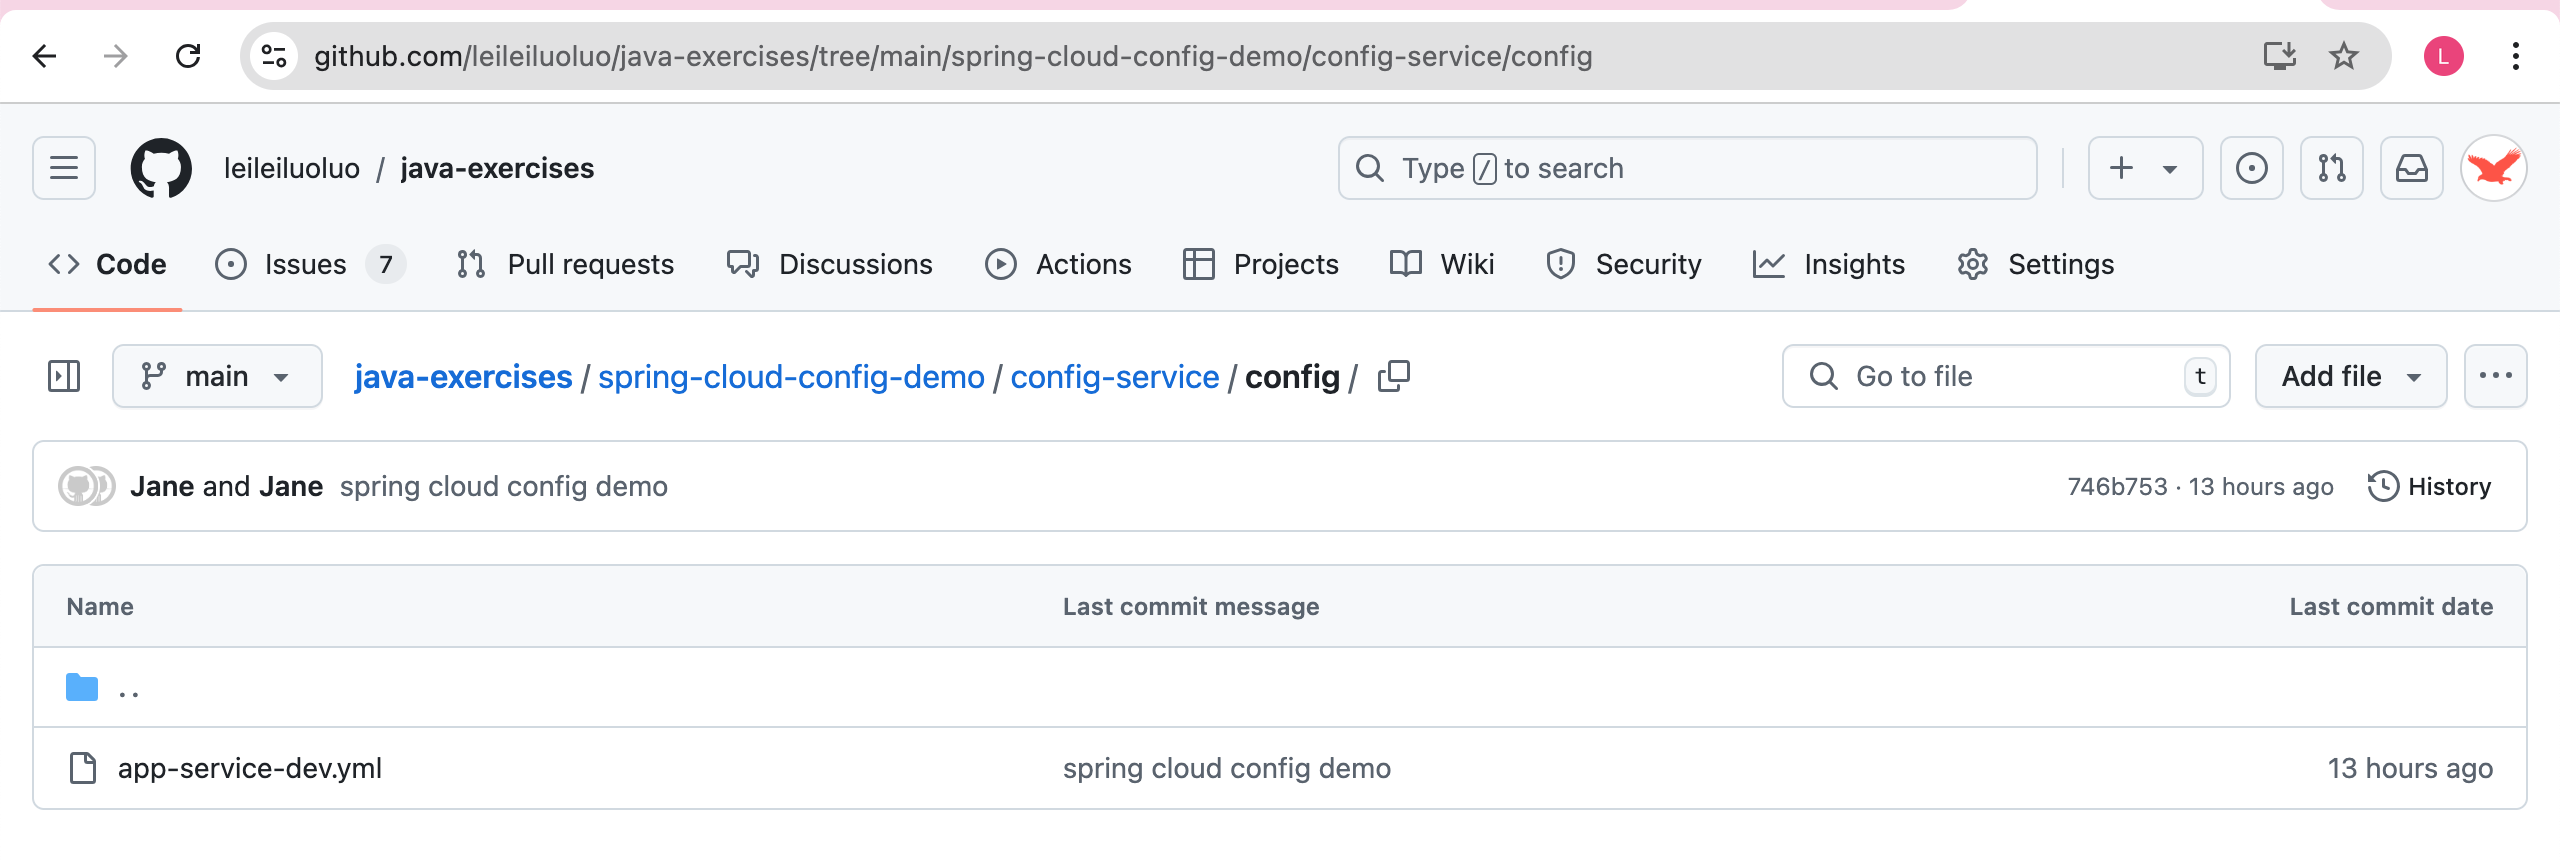
可以看到,该服务会使用 8888 端口对外提供服务。除了 eureka 相关的配置将其注册到 Registry Service 外;最重要的部分即是 spring.cloud.config.server 相关的配置,其指向了公共配置文件所在的仓库、分支和路径(因该仓库是一个公开仓库,所以未指定账号、密码;对于私有仓库,指定账号、密码即可)。

该仓库的对应路径下只放置了一个配置文件 app-service-dev.yml,其内容如下:
# Repo: github.com/leileiluoluo/java-exercises
# Branch: main
# Path: spring-cloud-config-demo/config-service/config/app-service-dev.yml
server:
  port: 8081
spring:
  application:
    name: app-service
eureka:
  client:
    service-url:
      defaultZone: http://localhost:8761/eureka/

app:
  version: 0.0.1
该配置文件会供后面的 App Service 使用。
config-service 启动类的代码如下:
// config-service/src/main/java/com/example/demo/ConfigApplication.java
package com.example.demo;

import org.springframework.boot.SpringApplication;
import org.springframework.boot.autoconfigure.SpringBootApplication;
import org.springframework.cloud.client.discovery.EnableDiscoveryClient;
import org.springframework.cloud.config.server.EnableConfigServer;

@EnableConfigServer
@EnableDiscoveryClient
@SpringBootApplication
public class ConfigApplication {

    public static void main(String[] args) {
        SpringApplication.run(ConfigApplication.class, args);
    }
}
该启动类使用了 @EnableConfigServer 注解,表示其是一个配置服务器;此外还使用了 @EnableDiscoveryClient 注解,表示其是一个 Eureka Client。
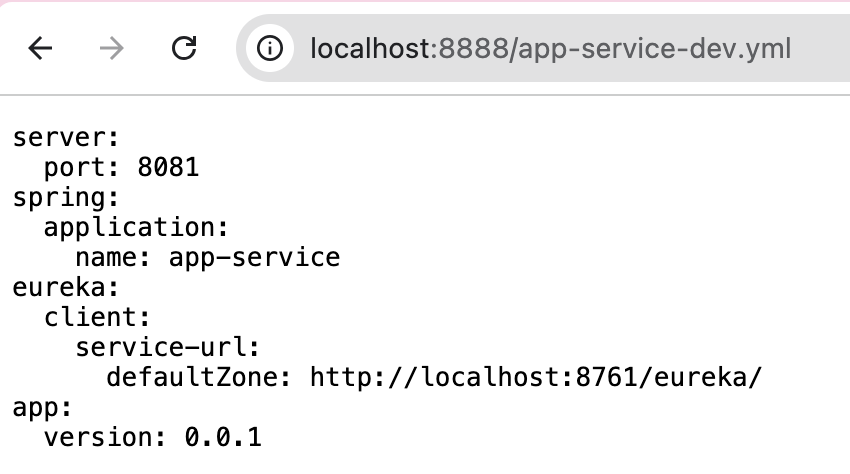
config-service 启动后,访问 http://localhost:8888/app-service-dev.yml 即可获取到配置文件 app-service-dev.yml 的内容。

3 搭建 App Service(应用服务)
最后,我们搭建一个普通的微服务 App Service,来演示如何从 Config Service 配置中心获取配置文件。
app-service 的目录结构如下:
app-service
├─ src/main
│   ├─ java
│   │    └─ com.example.demo
│   │       └─ DemoApplication.java
│   └─ resources
│       └─ bootstrap.yml
└─ pom.xml
可以看到其是一个最简单的 Spring Boot 工程,需要注意的是其 resources 文件夹下没有放置传统的 application.yml 配置文件,而是使用了一个 bootstrap.yml 配置文件,稍后会介绍该文件的作用。
app-service 的依赖如下:
<!-- app-service/pom.xml -->
<dependencies>
    <dependency>
        <groupId>org.springframework.boot</groupId>
        <artifactId>spring-boot-starter-web</artifactId>
    </dependency>
    <dependency>
        <groupId>org.springframework.cloud</groupId>
        <artifactId>spring-cloud-starter-config</artifactId>
        <version>4.1.3</version>
    </dependency>
    <dependency>
        <groupId>org.springframework.cloud</groupId>
        <artifactId>spring-cloud-starter-netflix-eureka-client</artifactId>
        <version>4.1.3</version>
    </dependency>
    <dependency>
        <groupId>org.springframework.cloud</groupId>
        <artifactId>spring-cloud-starter-bootstrap</artifactId>
        <version>4.1.3</version>
    </dependency>
</dependencies>
可以看到,该服务除了依赖 Eureka Client 外,还依赖一个 Spring Cloud Starter Config 和 Spring Cloud Starter Bootstrap。
app-service 的 bootstrap.yml 配置文件内容如下:
# app-service/src/main/resources/bootstrap.yml
spring:
  cloud:
    config:
      name: app-service
      profile: dev
可以看到,该配置文件指明其需要从配置中心读取 app-service-dev 相关的配置。
app-service 启动类的代码如下:
// app-service/src/main/java/com/example/demo/DemoApplication.java
package com.example.demo;

import org.springframework.beans.factory.annotation.Value;
import org.springframework.boot.SpringApplication;
import org.springframework.boot.autoconfigure.SpringBootApplication;
import org.springframework.cloud.client.discovery.EnableDiscoveryClient;
import org.springframework.stereotype.Component;
import org.springframework.web.bind.annotation.GetMapping;
import org.springframework.web.bind.annotation.RestController;

@Component
@RestController
@EnableDiscoveryClient
@SpringBootApplication
public class DemoApplication {

    @Value("${app.version}")
    private String appVersion;

    public static void main(String[] args) {
        SpringApplication.run(DemoApplication.class, args);
    }

    @GetMapping("/app-version")
    public String getAppVersion() {
        return appVersion;
    }
}
可以看到,该启动类上使用了 @EnableDiscoveryClient 注解,表示其是一个 Euraka Client。此外,还在其中编写了一个测试 API(/app-version),该 API 会读取配置文件中的 app.version 信息并返回。
该服务启动后,会打印下面一段日志:
ConfigServicePropertySourceLocator : Fetching config from server at : http://localhost:8888
ConfigServicePropertySourceLocator : Located environment: name=app-service, profiles=[dev]
PropertySourceBootstrapConfiguration : Located property source: [BootstrapPropertySource {name='bootstrapProperties-configClient'}, BootstrapPropertySource {name='bootstrapProperties-https://github.com/leileiluoluo/java-exercises.git/spring-cloud-config-demo/config-service/config/app-service-dev.yml'}]

TomcatWebServer  : Tomcat initialized with port 8081 (http)
表示其从 Registry Service(Eureka Server)获取到了 Config Service(配置中心)的访问地址 http://localhost:8888,然后访问 Config Service 来获取配置文件 app-service-dev.yml,并按照配置文件描述,以 8081 端口对外提供服务。
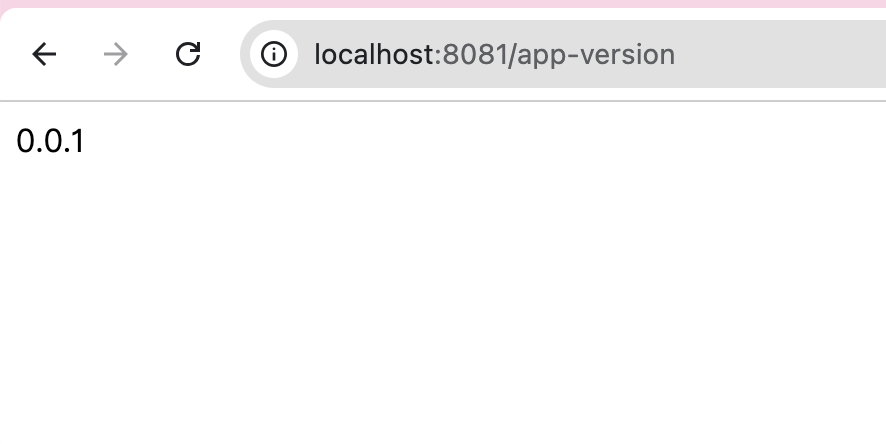
访问其测试 API(/app-version),发现正确读取到了 Config Service 中指定的配置信息。

综上,我们以依次搭建 Registry Service(Eureka Server)、Config Service(配置中心)、App Service(应用服务)的方式演示了 Config Service 作为统一配置中心的使用。本文涉及的三个示例工程已提交至 GitHub,欢迎关注或 Fork。
相关文章
评论
 正在加载评论......